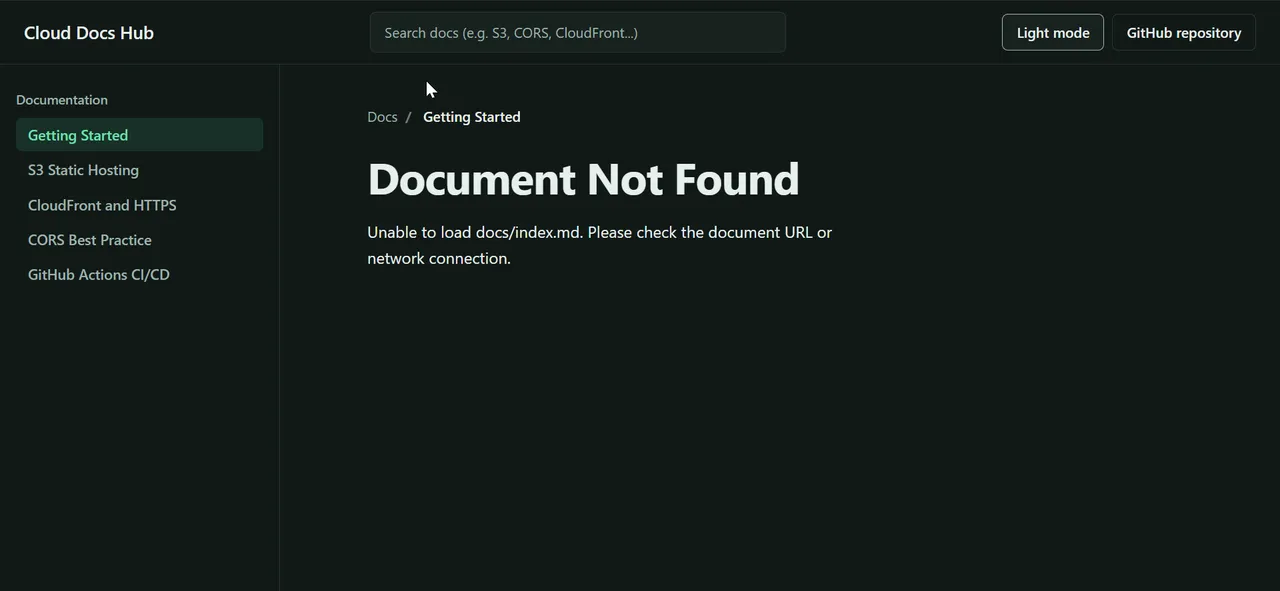
Uploading a static website to S3 by hand is fine for a one-off, but it gets tedious once you update the site often. This guide shows how to deploy a static website to Amazon S3 from GitHub Actions on every push to main, using OpenID Connect (OIDC) instead of stored AWS access keys. GitHub proves its identity to AWS and receives short-lived credentials, so there is no long-lived secret to leak or rotate.
What you’ll build: a pipeline that publishes your site whenever main changes. My latest run took 20 seconds from push to finished deployment.
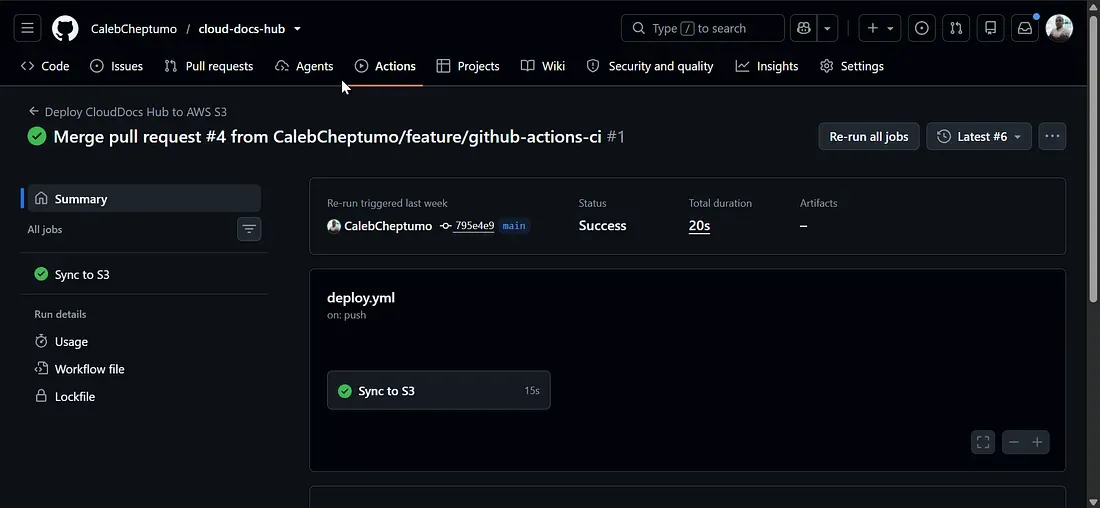
I built this for my Cloud Docs Hub project, and the setup below is what it uses.
What you need
- An AWS account where you can create S3 buckets and IAM roles
- A GitHub repository that contains your static site (HTML, CSS and JavaScript)
- About 20 minutes
Step 1: Prepare the S3 bucket
Set the bucket up for static website hosting first:
- Create the bucket. Bucket names are global, so pick one nobody else has used, such as
cloud-docs-hub. - Allow public reads. Under Permissions, turn off Block all public access and confirm. This is required because visitors load the site straight from S3.
- Enable static website hosting. Under Properties, switch on Static website hosting and set
index.htmlas the index document. - Add a bucket policy that lets anyone read objects:
{
  "Version": "2012-10-17",
  "Statement": [
    {
      "Sid": "PublicReadGetObject",
      "Effect": "Allow",
      "Principal": "*",
      "Action": "s3:GetObject",
      "Resource": "arn:aws:s3:::cloud-docs-hub/*"
    }
  ]
}
Step 2: Set up keyless authentication with OIDC
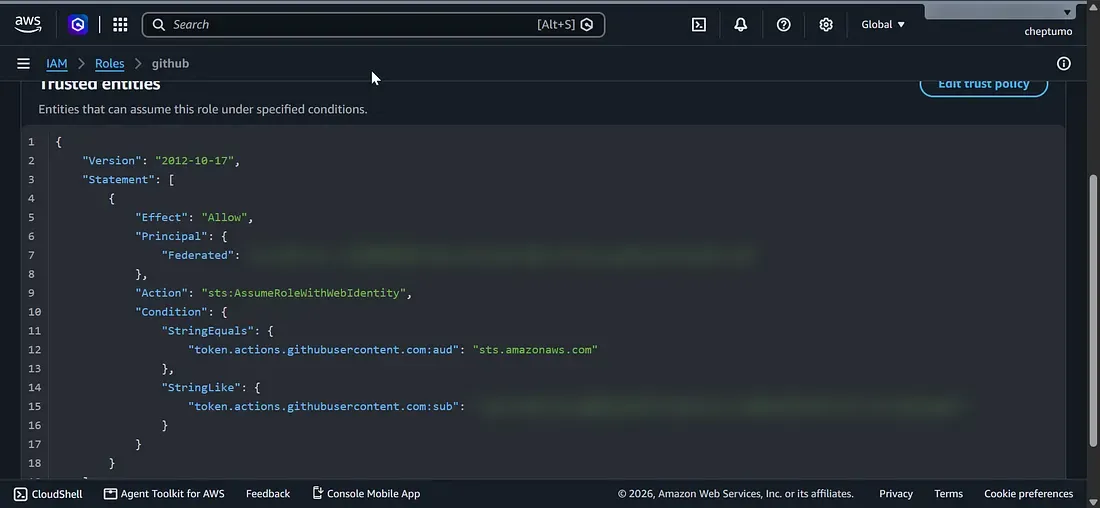
Instead of creating an IAM user with access keys, you create an IAM role that trusts GitHub’s OIDC provider.
Add GitHub as an identity provider
If your account doesn’t have it yet:
- Open the IAM console, go to Identity providers, and choose Add provider.
- Select OpenID Connect.
- Set the provider URL to
https://token.actions.githubusercontent.com. - Set the audience to
sts.amazonaws.com.
Create the IAM role and trust policy
Create a role that uses a web identity trust policy. There is one catch to know about first.
GitHub is changing the default sub claim in its OIDC tokens to include permanent numeric IDs. For repositories created after July 15, 2026, or ones that opt in, the claim looks like repo:OWNER@OWNER-ID/REPO@REPO-ID:ref:refs/heads/main. A trust policy that matches the old name-only format with an exact string will fail with Not authorized to perform sts:AssumeRoleWithWebIdentity. GitHub describes the change in its changelog.
A StringLike condition with wildcards matches both formats:
{
  "Version": "2012-10-17",
  "Statement": [
    {
      "Effect": "Allow",
      "Principal": {
        "Federated": "arn:aws:iam::<ACCOUNT_ID>:oidc-provider/token.actions.githubusercontent.com"
      },
      "Action": "sts:AssumeRoleWithWebIdentity",
      "Condition": {
        "StringEquals": {
          "token.actions.githubusercontent.com:aud": "sts.amazonaws.com"
        },
        "StringLike": {
          "token.actions.githubusercontent.com:sub": "repo:<OWNER>*/cloud-docs-hub*:*"
        }
      }
    }
  ]
}
Tighten the trust policy
The wildcards above are convenient but broad. <OWNER>* also matches any other account whose name starts with yours, cloud-docs-hub* matches any repository whose name starts with it, and the trailing :* accepts every branch and pull request.
For a stricter policy, pin the numeric IDs and the branch. AWS exposes the repository and owner IDs as condition keys:
"Condition": {
  "StringEquals": {
    "token.actions.githubusercontent.com:aud": "sts.amazonaws.com",
    "token.actions.githubusercontent.com:repository_owner_id": "<OWNER_ID>",
    "token.actions.githubusercontent.com:repository_id": "<REPO_ID>"
  },
  "StringLike": {
    "token.actions.githubusercontent.com:sub": "repo:<OWNER>@*/cloud-docs-hub@*:ref:refs/heads/main"
  }
}
Find the IDs with the GitHub CLI:
gh api users/<OWNER> --jq .id
gh api repos/<OWNER>/cloud-docs-hub --jq .id
Run the workflow again after any change to the policy to confirm it still works.
Step 3: Give the role least-privilege S3 access
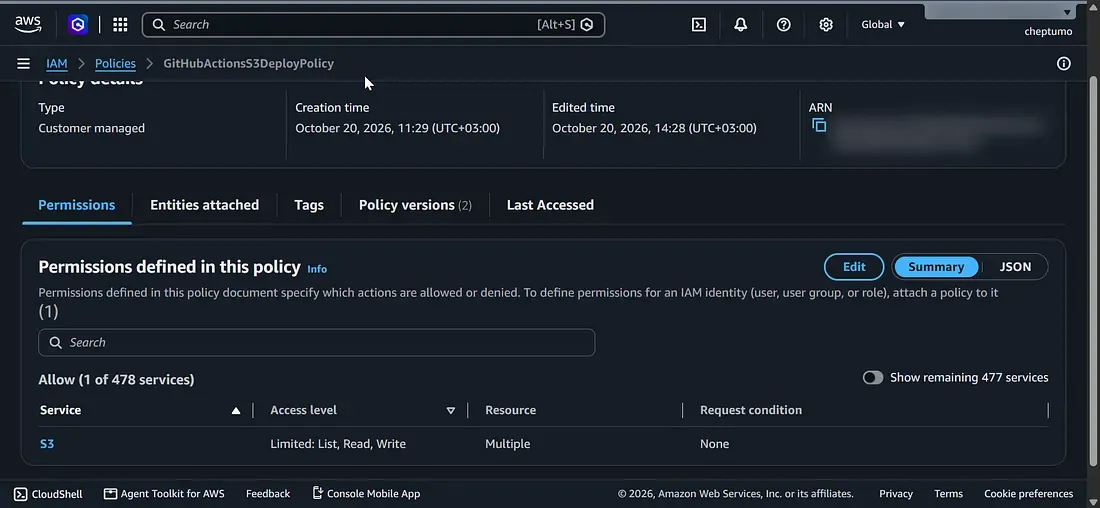
The workflow uses aws s3 sync, which needs permissions at two levels:
- Bucket level (
arn:aws:s3:::cloud-docs-hub):s3:ListBucket, so the command can compare the bucket with your repository. - Object level (
arn:aws:s3:::cloud-docs-hub/*):s3:PutObject,s3:GetObjectands3:DeleteObject, so it can upload new files and remove old ones.
Attach this inline policy to the role:
{
  "Version": "2012-10-17",
  "Statement": [
    {
      "Sid": "S3DeploymentPermissions",
      "Effect": "Allow",
      "Action": [
        "s3:PutObject",
        "s3:GetObject",
        "s3:DeleteObject",
        "s3:ListBucket"
      ],
      "Resource": [
        "arn:aws:s3:::cloud-docs-hub",
        "arn:aws:s3:::cloud-docs-hub/*"
      ]
    }
  ]
}
Step 4: Write the GitHub Actions workflow
Create .github/workflows/deploy.yml in your repository:
name: Deploy CloudDocs Hub to AWS S3

on:
  push:
    branches: [main]
  workflow_dispatch:

permissions:
  id-token: write   # lets the job request an OIDC token
  contents: read    # lets the job check out the code

jobs:
  deploy:
    name: Sync to S3
    runs-on: ubuntu-latest
    steps:
      - name: Checkout repository
        uses: actions/checkout@v4

      - name: Configure AWS credentials via OIDC
        uses: aws-actions/configure-aws-credentials@v4
        with:
          role-to-assume: ${{ secrets.AWS_ROLE_ARN }}
          aws-region: us-east-1

      - name: Deploy to S3
        run: |
          aws s3 sync . s3://${{ secrets.AWS_S3_BUCKET }}/ \
            --delete \
            --cache-control "no-cache" \
            --exclude ".git/*" \
            --exclude ".github/*" \
            --exclude "README.md"
How the pieces work:
id-token: writeallows the job to request an OIDC token from GitHub. Without it, the AWS step has nothing to exchange.configure-aws-credentialstrades that token for temporary AWS credentials by assuming the role named in theAWS_ROLE_ARNsecret.aws s3 sync --deleteuploads changed files and removes objects that no longer exist in the repository, so the bucket always mirrorsmain. Because of--delete, anything else you keep in this bucket will be removed, so use a dedicated bucket.- The excludes keep repository files such as
.gitand the README out of the bucket.
Step 5: Add secrets and test the pipeline
- In GitHub, go to Settings, then Secrets and variables, then Actions.
- Add two repository secrets:
AWS_ROLE_ARN: the ARN of the role, such asarn:aws:iam::<ACCOUNT_ID>:role/GitHubActionsAWS_S3_BUCKET: the bucket name, such ascloud-docs-hub
- Commit the workflow and push to
main.
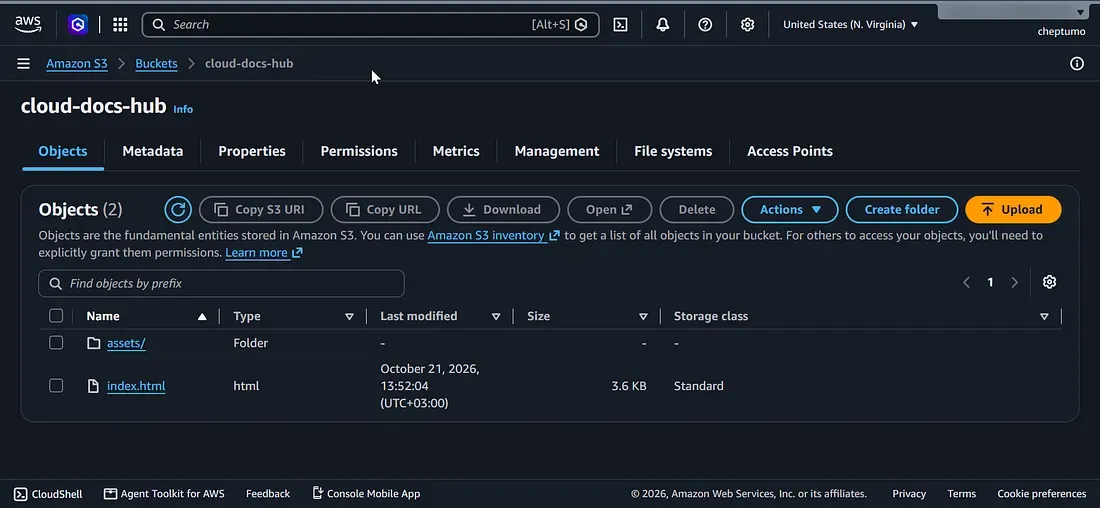
Open the Actions tab to watch the run. When it finishes, your HTML, CSS and JavaScript files are in the bucket.
Common errors and how to fix them
| Error | Cause | Fix |
|---|---|---|
Not authorized to perform sts:AssumeRoleWithWebIdentity |
The trust policy’s sub condition doesn’t match GitHub’s token, often because of the new immutable format |
Use the wildcard or ID-based conditions from Step 2 |
AccessDenied during aws s3 sync |
The IAM policy only lists the object ARN, so the command can’t list the bucket | Include both the bucket ARN and the /* object ARN |
| The AWS step can’t get a token | id-token: write is missing from the workflow |
Add it under permissions |
Key takeaways
- Add
id-token: writeto the workflow so GitHub can issue an OIDC token. - Write the trust policy to handle GitHub’s immutable
subclaims, and tighten it with numeric IDs and a branch once it works. - Include both the bucket ARN and the object ARN in the IAM policy so
aws s3 synccan list and write. - Use a dedicated bucket, because
--deleteremoves anything the repository doesn’t contain.
Next steps
The S3 website endpoint only serves plain HTTP, and Chrome now warns before loading public HTTP sites. The natural upgrade is to put CloudFront with a free ACM certificate in front of the bucket, and make the bucket private with origin access control.
- See the full setup in the Cloud Docs Hub project and its GitHub repository.
- The action used here is aws-actions/configure-aws-credentials.
- This post is also on Medium.